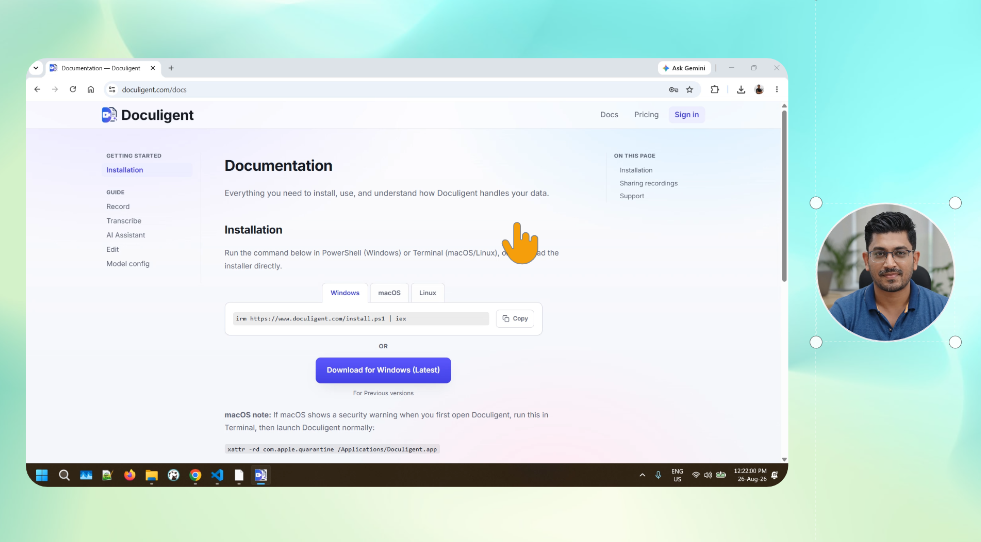
Record in Advanced mode and Doculigent keeps the cursor as its own fully editable track, separate from the screen and camera — so cursor styling is something you tune afterward
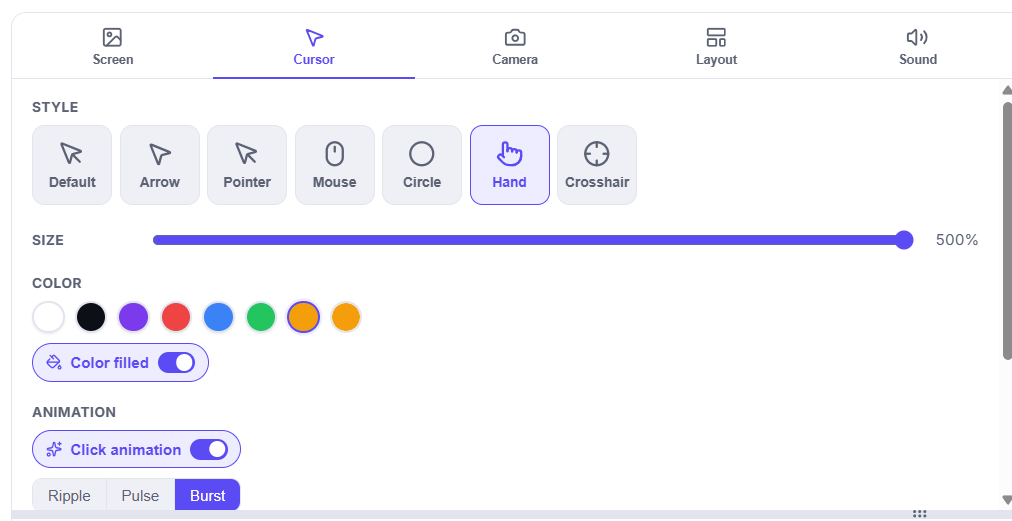
The Timeline Editor's Cursor panel lets you swap the cursor's style — Default, Arrow, Pointer, Mouse, Circle, Hand, or Crosshair — resize it up to 500%, and recolor it from a preset palette or with Color filled toggled on for a solid fill.
Click animation adds a Ripple, Pulse, or Burst around every click, so clicks read clearly in the final export even if they were subtle or easy to miss in the original recording.
This sits alongside the editor's other polish tools — auto-generated zoom and camera styling on their own synchronized tracks — so restyling the cursor is one step in the same pass as the rest of your edit, not a separate workflow. Doculigent lets you reset back to defaults, or restore the completely untouched original recording, so it never risks the source footage.